
Design, canvas & AI
Edit canvases directly and refine designs with the agent using bottom commands and selected elements.
A canvas is a workspace to draw architecture, discuss it, and improve it with an agent. Explore the components and data flow in Mamma (a parenting app), then enter requests at the bottom of the canvas to develop the design.
Choose a diagram or a canvas
| Your goal | Where to start |
|---|---|
| Show structure or a call sequence alongside an explanation | Request a diagram in a document or chat |
| Arrange shapes, text, and connections yourself | New canvas in Explorer |
| Understand the current system from code | Request an architecture canvas for a connected repository |
| Refine an existing design through conversation | Open the canvas and use the bottom composer |
Diagrams in documents and chat work well alongside explanations. A canvas lets you edit the structure and iterate on it. Expand an embedded diagram to inspect it, or copy it and paste it into a canvas to continue editing.
Draw your first architecture
Start with New canvas in Explorer, or specify a repository and scope in chat. For a system overview, describe the boundaries between users, apps, servers, data stores, and external services.
Read the current Mamma repository and create an architecture canvas.
Show the roles and connection directions for caregivers, apps,
authentication, the data API, and storage.
Separate code-confirmed structure from items that need verification.
For current implementation, check the GitHub connection. For a new feature, describe requirements, constraints, and interfaces to preserve. Keep current and target architecture in separate canvases.
Improve it with commands at the bottom
Open a canvas and enter a request in Ask to edit this canvas… at the bottom. You can close the AI panel for more drawing space while continuing the same conversation. Check the current model using the model button, enter the change, and send it.
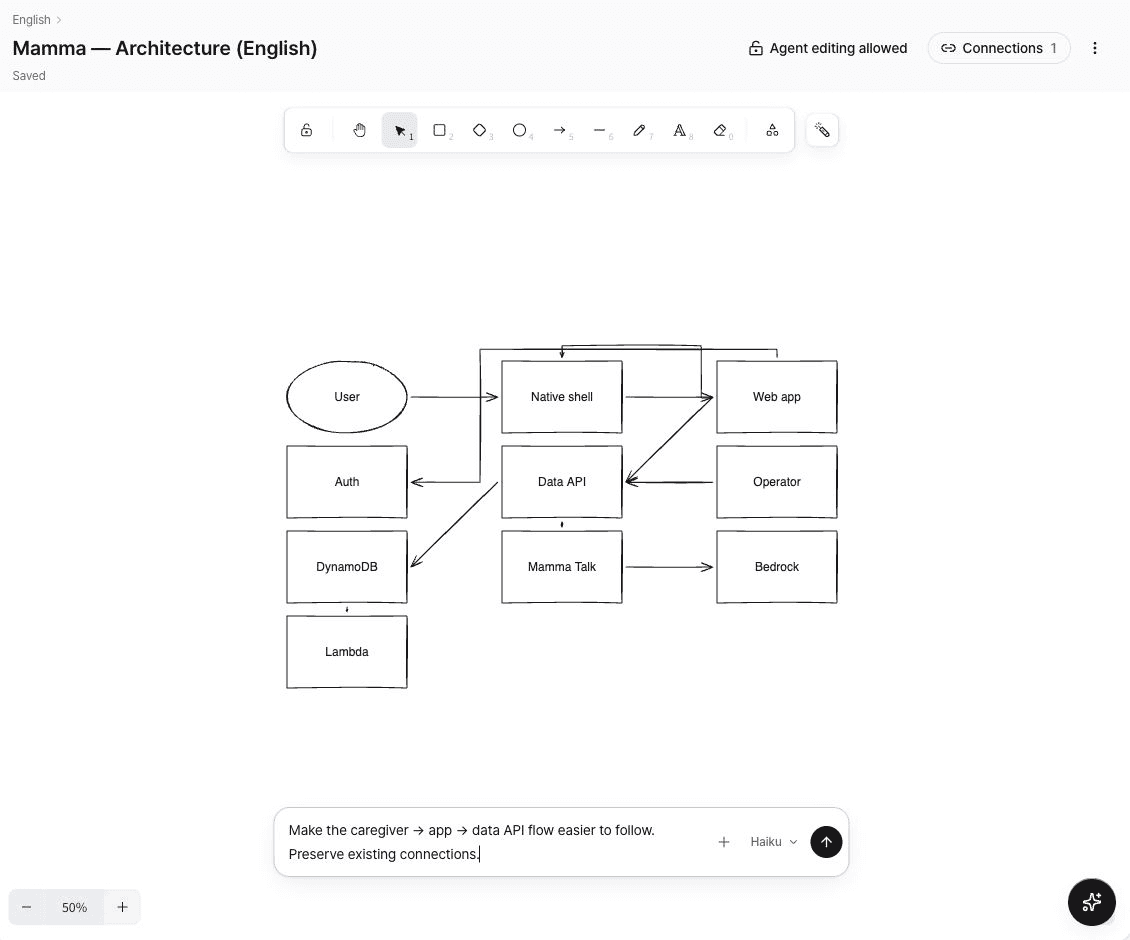
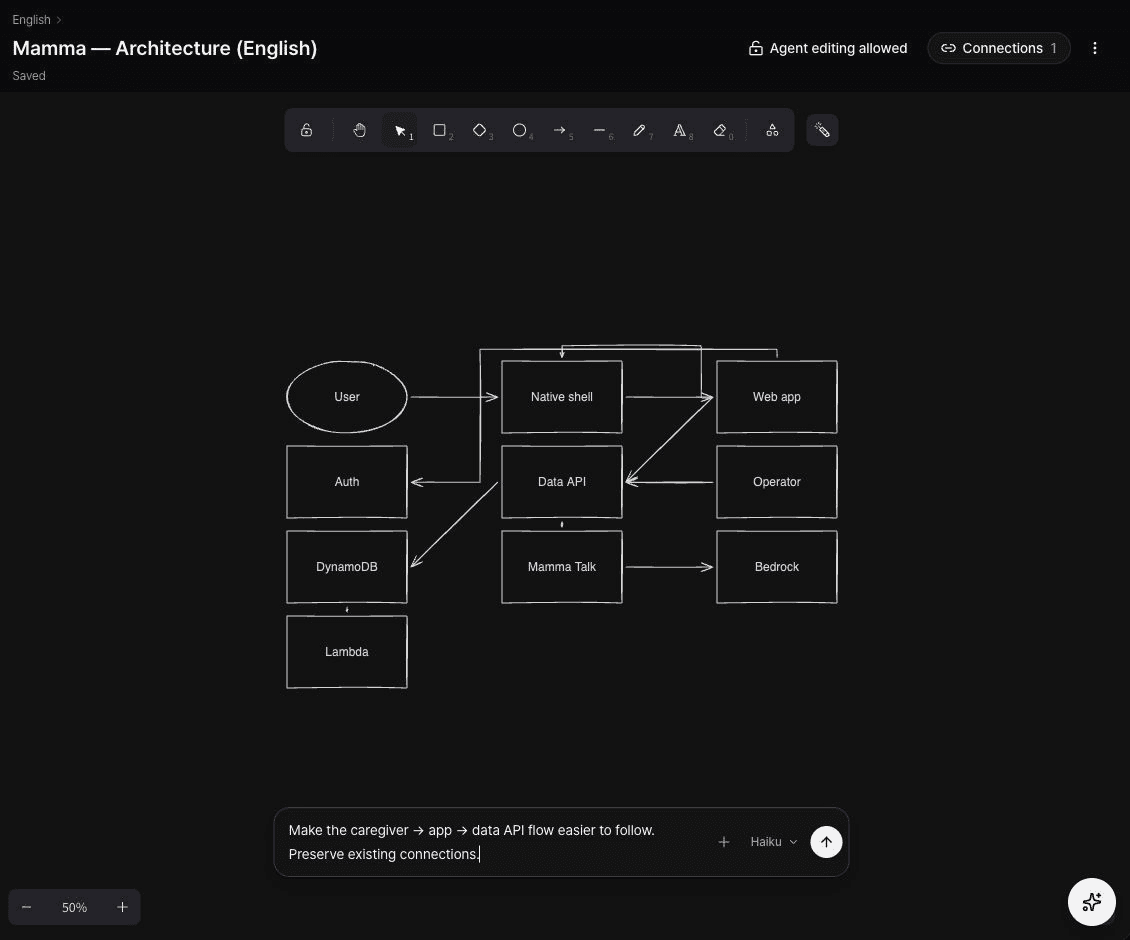
Preserve the existing components and connections.
Arrange them so the caregiver → app → data API flow is easy to follow.
Include the target, the desired result, and what to preserve. Alternate explanation and editing requests: “Group these by layer,” “Explain this arrow,” or “Compare where retry responsibility could belong.” Label proposed designs as target architecture and distinguish them from evidence about the current implementation.
Focus on selected elements
Use Selection to select a shape or connection. Drag a selection area to select multiple elements. Check the selection indicator in the bottom composer, then enter the change. The agent receives the selection as context for understanding the target.
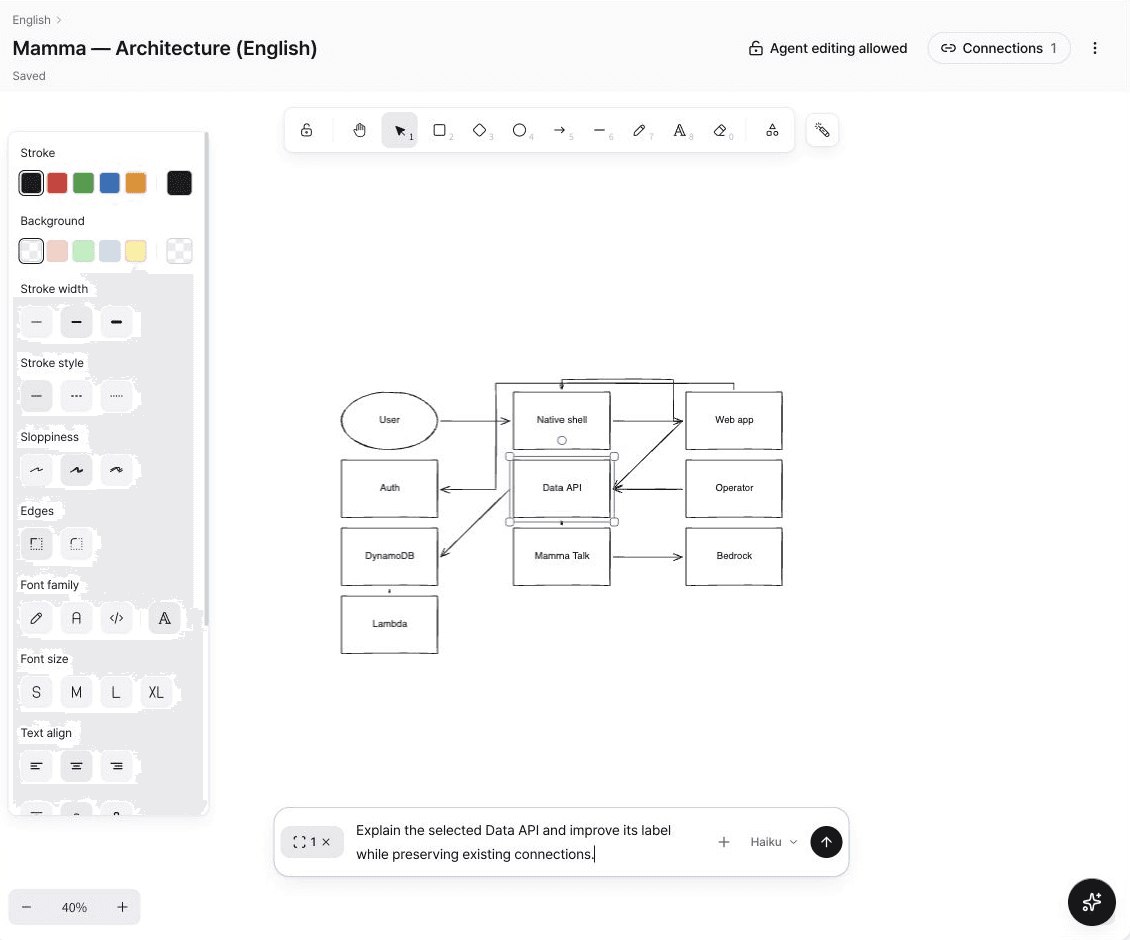
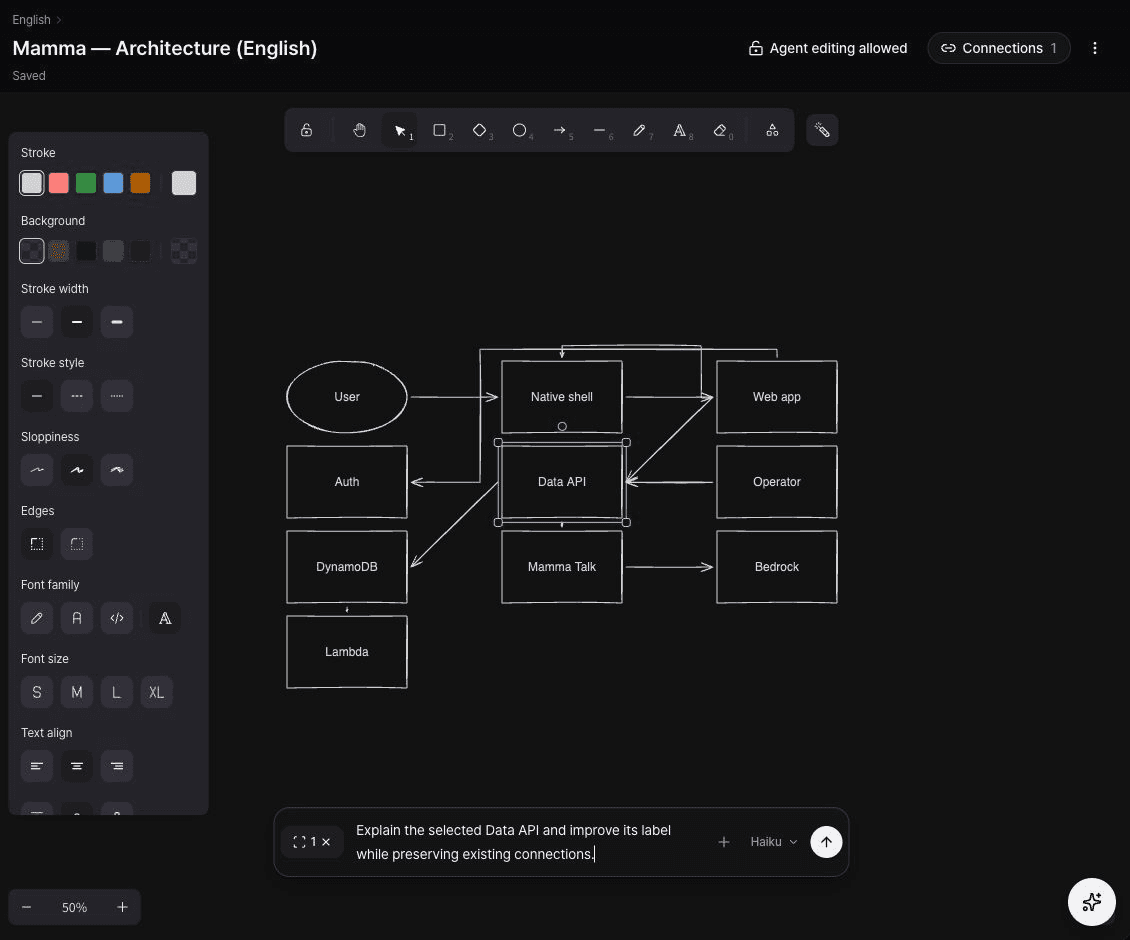
First explain the role of the selected elements.
Make their labels and layout easier to read while preserving
surrounding components and connection directions.
Selection provides context for the request. Also state the scope in words, such as “Change only the selection and preserve the other shapes and connections,” then check nearby elements after execution.
Edit directly and review the result
| Tool or action | Use |
|---|---|
| Rectangle, diamond, ellipse | Represent components and decisions |
| Arrow and line | Connect calls and data flow |
| Text | Add roles, boundaries, and review questions |
| Hand tool and zoom | Navigate large designs and inspect details |
| Undo and redo | Adjust your direct edits |
When the agent finishes, check component roles, connection directions, preserved content, and Saved status. You can lock agent editing from the header during review. If a save issue appears, follow the retry or draft-export guidance.
Connect the design to implementation
Link the current-architecture canvas to a repository to update it after pushes to the connected branch. Keep target architecture as the agreed reference and let your coding agent read it through Specify MCP.
For Jimin’s workflow from current architecture to target design and implementation, see Architecture design. For automatic updates, see Connection management.